

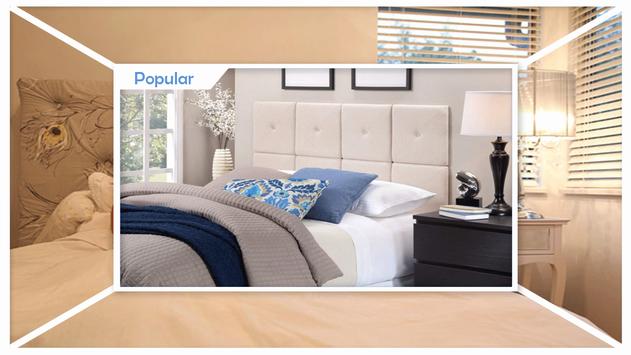
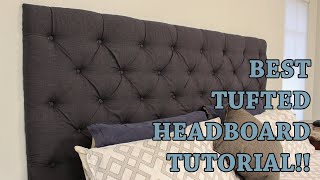
Feel like royalty with this beautiful upholstered headboard. Wings, pleating and button-tufting create a stately and cozy backdrop for your bedroom.
-
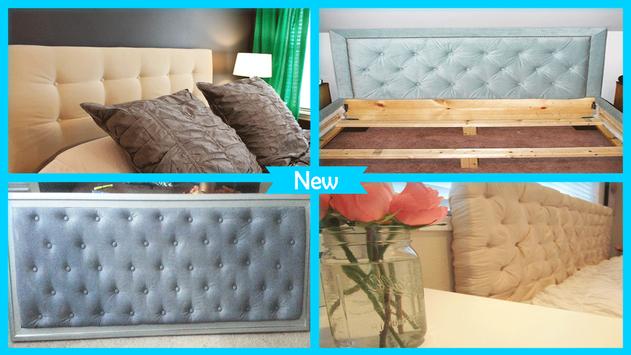
Diamond Tufted Headboard
This stately DIY headboard frames your bed in a cozy and elegant way. The tools and materials for this project include: plywood, a T-square, yardstick, measuring tape, goggles, electric screwdriver and attachments, 2”-thick firm density foam, foam and fabric spray adhesive, foam cutter or electric carving knife, permanent marker, hole-saw bit, fabric (we used Knoll Textiles’s Hourglass in Almond), scissors, cotton batting, stitched Dacron, white or yellow chalk, straight pins, sewing machine, attachments and thre
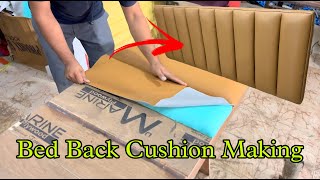
- Cut the Back Panel and Make Brackets
The main piece of plywood should be the width of the bed plus two times the thickness of the padding on the wings. It’s not necessary to make and attach legs since the wings can act as legs. Brackets will be used to attach the wings to the frame. The amount of brackets you'll need will depend on the height of your headboard. You'll want a bracket every 12 to 18 inches, so probably about 8 to 10 brackets should suffice. To make the brackets, draw a curved triangular shape on a piece of scrap plywood and cut it out using a jigsaw. Use the first triangle bracket as a template to make the rest. ad, button kits or button machine and attachments, button twine, button needle, staple gun and 3/8” staples, regulator, Pli-Grip, bonded Dacron, rubber mallet, dustcover and furniture leg glides.
-
Attach Brackets
Cut two pieces of plywood to the desired height and width of the wings. Butt the back edge of the wing onto the side of the headboard. Glue and screw corner brackets every 12” to 18” along the right and left edges of the main headboard.
-
Fasten the Wings
Screw the corner brackets into the wings from the outside of the wings. Screw the back edge of the wings into the main headboard for additional stability.
-
Cover Corner Brackets
To create a smooth transition and solid surface between the wings and headboard, cut a piece of panelboard and staple it to the corner brackets, wings and headboard.
Want to know more ?
Download this application now and get what you want here. worth to try and you will like it.
simply share through any social media platforms. thank you for downloading. please enjoy and give us any feedback.


9Apps 4.9