

What is the purpose of this application?
By arranging buttons, timers, graphs etc. and describing the processing in Iron Python, it is possible to create the operation panel for ESP 8266 and ESP 32 in a short time.
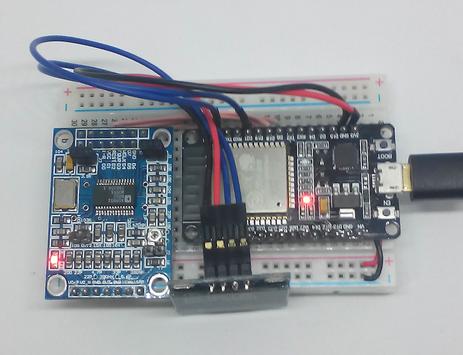
What program should be written to ESP8266 / ESP32?
Arduino sketch http://rapidnack.com/?p=835
Operation explanation - Display http://rapidnack.com/?p=918
Operation explanation - Graph http://rapidnack.com/?p=945
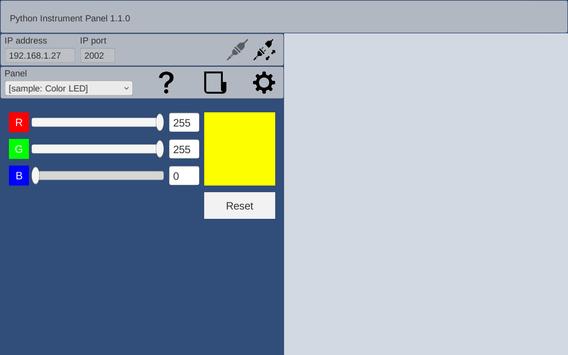
Sample - Color LED http://rapidnack.com/?p=967
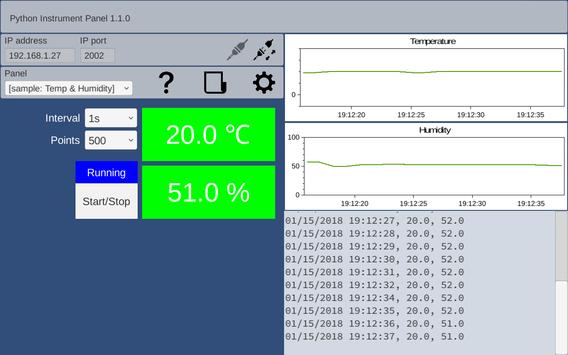
Sample - Temp & Humidity http://rapidnack.com/?p=987
Sample - Push Switch http://rapidnack.com/?p=1017
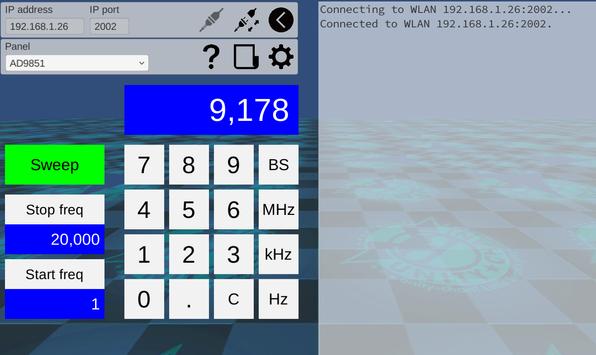
AD9851 DDS module http://rapidnack.com/?p=1164
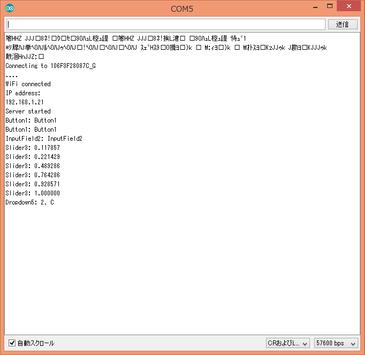
Please write the above Arduino sketch to ESP. If you connect ESP to Android and operate buttons, sliders, etc., the same content displayed in the log on the application screen is displayed on the Arduino IDE serial monitor.
By adding timers and graphs to the application screen and changing the Arduino sketch to send measured data, you can display the measured data graphically in real time. When actually using it, add your own processing to mySetup(), myLoop(), process() at the end of the Arduino sketch.
void mySetup() {
}
void myLoop() {
}
String process(String str) {
Serial.println(str);
//if (str == "Button1: Button1")
//
return "Received!";
return "";
}
How do I communicate with ESP8266 / ESP32?
To obtain data from ESP, write in Python as follows.
if Remote.Writer != None:
Remote.Writer.WriteLine()
Remote.Writer.Flush()
print Remote.Reader.ReadLine()
Also, if you write the event handler lineReceived (text) in the Panel setup script as follows, you can process data from ESP asynchronously.
def lineReceived(text):
print text
Remote.RaiseEvents = True
The following is a sample sketch for ESP32.
For ESP 8266, replace the Include statement.
ESP8266:
#include
#include
ESP-WROOM-32:
#include
------------------- from here -----------------
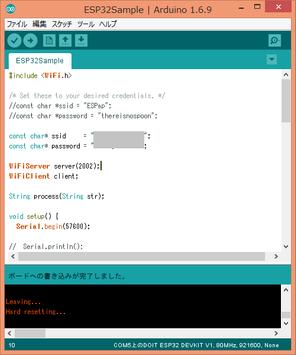
#include
const char* ssid = "your-ssid";
const char* password = "your-password";
WiFiServer server(2002);
WiFiClient client;
String process(String str);
void setup() {
Serial.begin(57600);
mySetup();
Serial.println();
Serial.print("Connecting to ");
Serial.println(ssid);
//WiFi.mode(WIFI_STA); // Disable Access Point
WiFi.begin(ssid, password);
while (WiFi.status() != WL_CONNECTED) {
delay(500);
Serial.print(".");
}
Serial.println("");
Serial.println("WiFi connected");
Serial.println("IP address: ");
Serial.println(WiFi.localIP());
server.begin();
Serial.println("Server started");
}
void loop() {
myLoop();
if (!client.connected()) {
// try to connect to a new client
client = server.available();
} else {
// read data from the connected client
if (client.available()) {
String inputString = client.readStringUntil('
');
inputString.trim();
String outputString = process(inputString);
if (outputString != "") {
client.println(outputString);
}
}
}
}
void mySetup() {
}
void myLoop() {
}
String process(String str) {
Serial.println(str);
//if (str == "Button1: Button1")
// return "Received!";
return "";
}
------------------ until here -----------------
Changed to save contents when exiting edit mode


9Apps 4.9