

このアプリケーションの目的は?
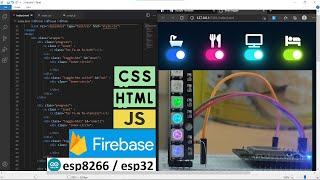
ボタン、タイマー、グラフ等を配置し処理をIron Pythonで記述することで、ESP8266、ESP32用の操作パネルを短時間で作ることができます。
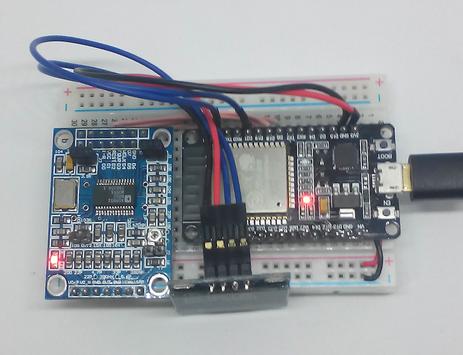
ESP8266、ESP32に書き込むべきプログラムは?
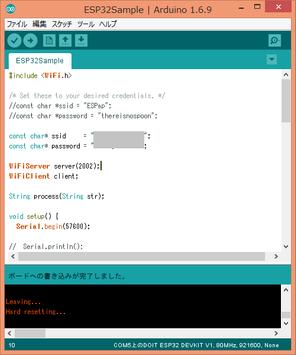
Arduinoスケッチ http://rapidnack.com/?p=835
操作説明ー画面 http://rapidnack.com/?p=918
操作説明ーグラフ http://rapidnack.com/?p=945
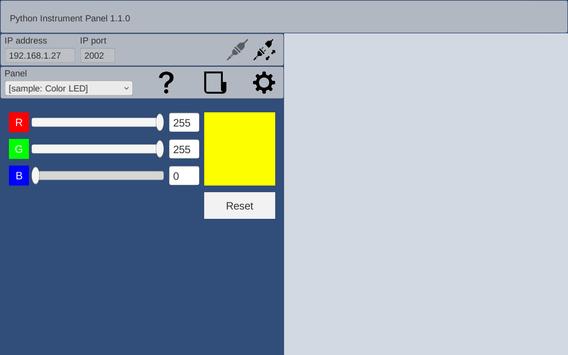
SampleーColor LED http://rapidnack.com/?p=967
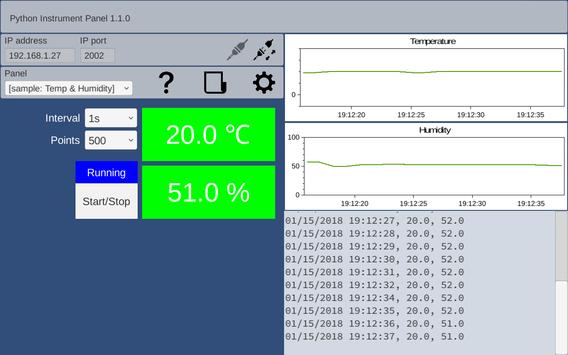
SampleーTemp & Humidity http://rapidnack.com/?p=987
SampleーPush Switch http://rapidnack.com/?p=1017
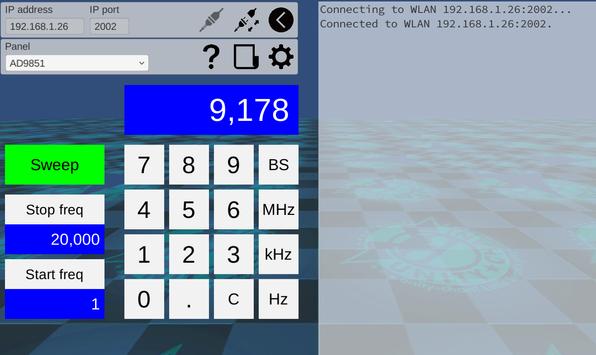
AD9851 DDSモジュール http://rapidnack.com/?p=1164
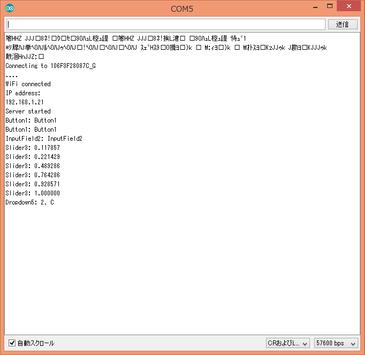
上記Arduinoスケッチを、ESPに書き込んでください。ESPとAndroidを接続してボタン、スライダー等を操作すると、アプリ画面のログに表示される内容と同じものがArduino IDEのシリアルモニタに表示されます。
アプリ画面にタイマーとグラフを追加してArduinoスケッチを測定データを返信するように変更すれば、リアルタイムで測定データをグラフ表示できます。Arduinoスケッチの最後にあるmySetup()、myLoop()、process()に独自の処理を追加します。
void mySetup() {
}
void myLoop() {
}
String process(String str) {
Serial.println(str);
//if (str == "Button1: Button1")
//
return "Received!";
return "";
}
ESP8266、ESP32と通信するには?
ESPからデータを取得する場合は、次のようにPythonで記述します。
if Remote.Writer != None:
Remote.Writer.WriteLine()
Remote.Writer.Flush()
print Remote.Reader.ReadLine()
また、次のようにイベントハンドラlineReceived(text)をPanel setup scriptに記述すると、ESPからのデータを非同期で処理できます。
def lineReceived(text):
print text
Remote.RaiseEvents = True
以下は、ESP-WROOM-32用のサンプルスケッチです。
ESP8266の場合はInclude文を差替えてください。
ESP8266:
#include
#include
ESP-WROOM-32:
#include
----------------------------------- ここから -----------------------------------
#include
const char* ssid = "your-ssid";
const char* password = "your-password";
WiFiServer server(2002);
WiFiClient client;
String process(String str);
void setup() {
Serial.begin(57600);
mySetup();
Serial.println();
Serial.print("Connecting to ");
Serial.println(ssid);
//WiFi.mode(WIFI_STA); // Disable Access Point
WiFi.begin(ssid, password);
while (WiFi.status() != WL_CONNECTED) {
delay(500);
Serial.print(".");
}
Serial.println("");
Serial.println("WiFi connected");
Serial.println("IP address: ");
Serial.println(WiFi.localIP());
server.begin();
Serial.println("Server started");
}
void loop() {
myLoop();
if (!client.connected()) {
// try to connect to a new client
client = server.available();
} else {
// read data from the connected client
if (client.available()) {
String inputString = client.readStringUntil('
');
inputString.trim();
String outputString = process(inputString);
if (outputString != "") {
client.println(outputString);
}
}
}
}
void mySetup() {
}
void myLoop() {
}
String process(String str) {
Serial.println(str);
//if (str == "Button1: Button1")
// return "Received!";
return "";
}
----------------------------------- ここまで -----------------------------------
Changed to save contents when exiting edit mode


9Apps 4.9